


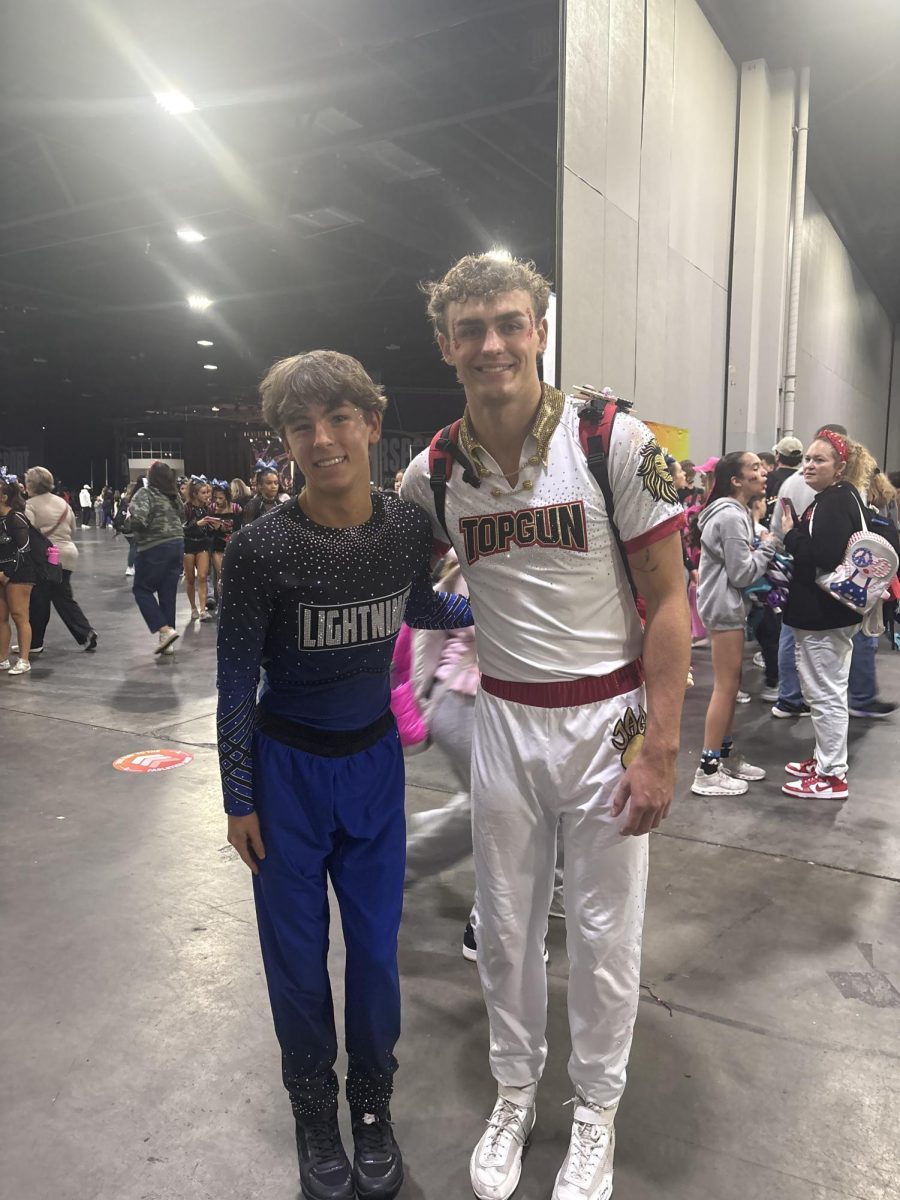
PALM BEACH LIGHTNING – Have you ever wondered how to do a back handspring? Here are the steps to do one! Since cheer tryouts are soon, you can follow this guide and maybe do a back handspring at tryouts!
First, you have to practice jumping backwards to get the feeling of going back into the skill. I recommend 10 jumps going backwards. After you have completed the first step add an arm swing to increase the momentum. After that practice leaning back (like sitting in a chair) and at the last second jump back, throwing your arms up by your ears. Do this 3-5 times.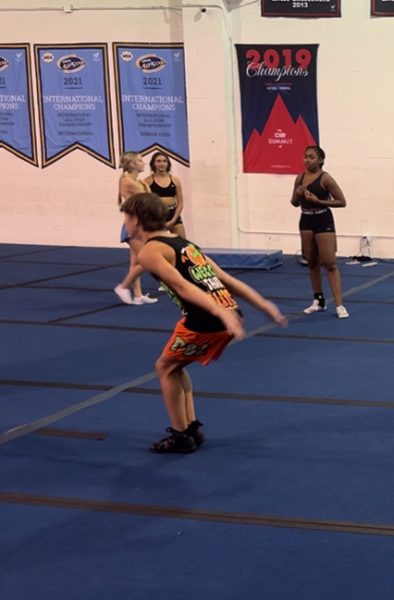
Next, find a sturdy wall and get in a handstand where your back is touching the wall and your stomach is facing away. Once you are in the handstand snap down your feet to the floor as fast as possible to get the feeling of the last part of the back handspring. Make sure you are squeezing your core and pushing off the ground through your shoulders. You should be finishing standing up.
After that, you will need to stretch your back because the next step involves getting in a bridge position. Next, stand up and put your arms by your ears. Next, bend back and touch the floor. (Recreating the first half of the back handspring.) Next, bend your legs and push off the floor forcefully and finish standing up with your arms in front of you with bent legs to absorb the landing. 
Some helpful tips to doing a successful back handspring are making sure your back is bent slightly when in the middle of the back handspring. Another helpful tip is to flick your wrists when it is time to snap your feet to the floor. Doing this, it will make the second half of the back handspring easier. 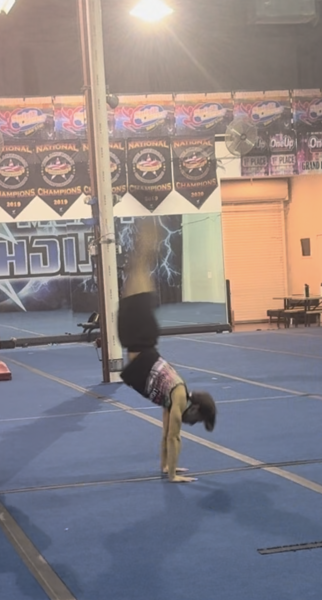
Overall, completing a back handspring is not that hard of a skill to do. Just remember this will take a couple of tries and maybe even a couple of weeks of hard work, determination and a strong drive to get what you want.